Painting over dark colours is one of the jobs South London homeowners most often get wrong, and it is easy to see why. A deep navy feature wall or a full room in forest green looks fantastic. Two years later everyone wants light and bright again. The good news is that going from dark to light is completely doable. It just takes the right prep, the right primer, and a realistic idea of how many coats you are in for. This is how we approach it on jobs across SE17 and the surrounding areas.
Why Dark Paint Is So Stubborn to Cover
Dark colours carry a heavy pigment load. Deep blues, charcoals, reds and blacks are mixed with strong tinters suspended in a base paint, and that pigment stays on the wall underneath whatever you put over the top. Light paint is not opaque enough on its own to switch it off.
Contrast is the other half of the problem. Going from a dark wall to white or off-white means covering a very large tonal jump, which is why one coat of cheap white emulsion over charcoal always looks grey and patchy.
Step 1: Work Out What Is Actually on the Wall
Clean the wall with warm water and sugar soap first. Once it is dry, look at the surface: matt emulsion, vinyl silk, or an oil-based eggshell or gloss. Matt is the easiest to cover. Silk and gloss are harder because their sheen reflects light and highlights every thin patch.
If the finish feels glossy or the old paint is oil-based, it needs a light sand to dull the surface so the new paint can grip, then a bonding primer.
Step 2: Choose the Right Primer
Primer is where you win or lose this job. A tinted primer, usually grey or mid-tone, does far more work than plain white because it knocks back the contrast in one pass. On reds and strong blue-greens, use a stain-blocking primer so the old colour cannot bleed back through.
If the dark paint is in good condition, one coat of a high-opacity primer is normally enough. If the walls are bare plaster or previously unsealed, you will need two.
Step 3: Two Coats of Quality Matt Emulsion
Matt emulsion hides better than silk, so it is the sensible choice for covering dark walls, ceilings and most living spaces. Trade-grade paint costs more per tin but covers in fewer coats, which usually works out cheaper than three coats of budget paint. Two full coats over a tinted primer will give you a solid, even finish in almost every case.
Step 4: Cut In Carefully and Keep the Coats Even
Cut in along the ceiling line, corners and skirting with a brush, then roll in overlapping W patterns to keep the wet edge moving. Use a medium-pile sleeve for matt walls. Roll thin, even coats rather than loading the wall, and check your work with a lamp held against the wall so you can see where the coat is light before the paint dries.
Mistakes We See Most Often
- Rolling straight over silk or gloss without sanding, so the new paint peels.
- Skipping primer to save a day, then needing three or four coats of emulsion.
- Buying cheap white paint, which ends up costing more than the trade tin.
- Painting over a wall that is still damp, especially in bathrooms and hallways.
- Not letting primer dry fully before the first topcoat goes on.
Painting Over Dark Colours in South London Homes
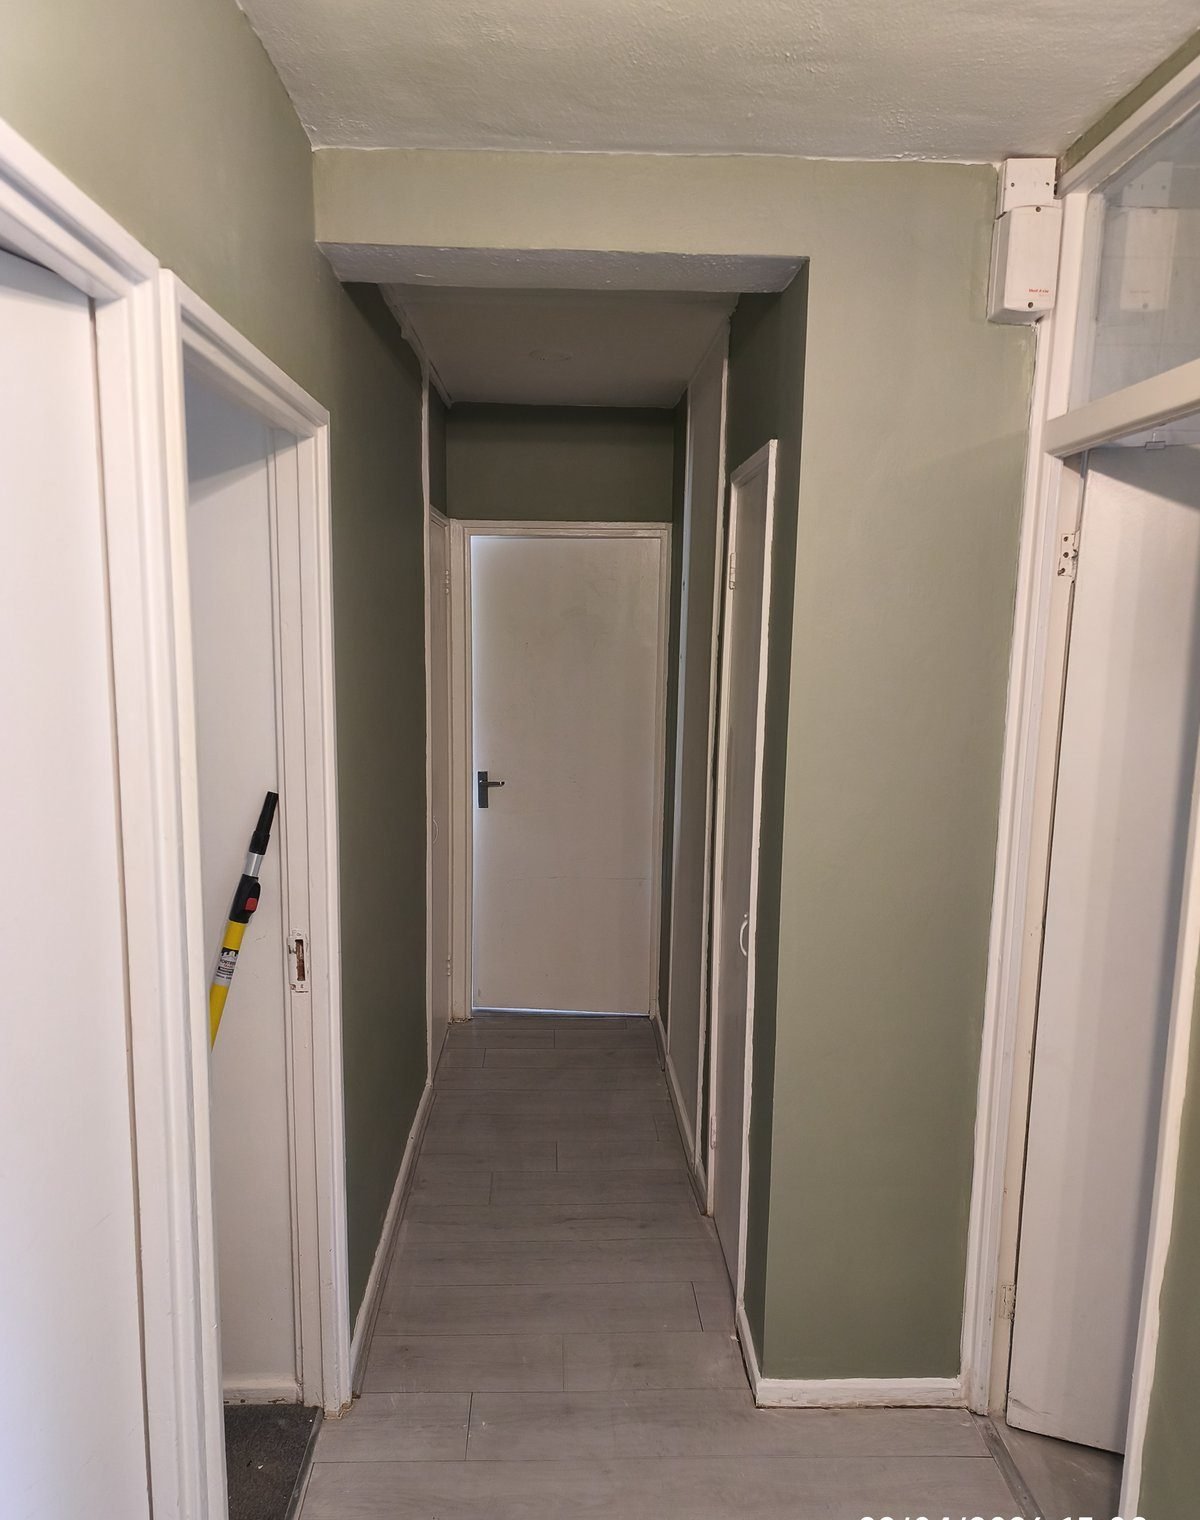
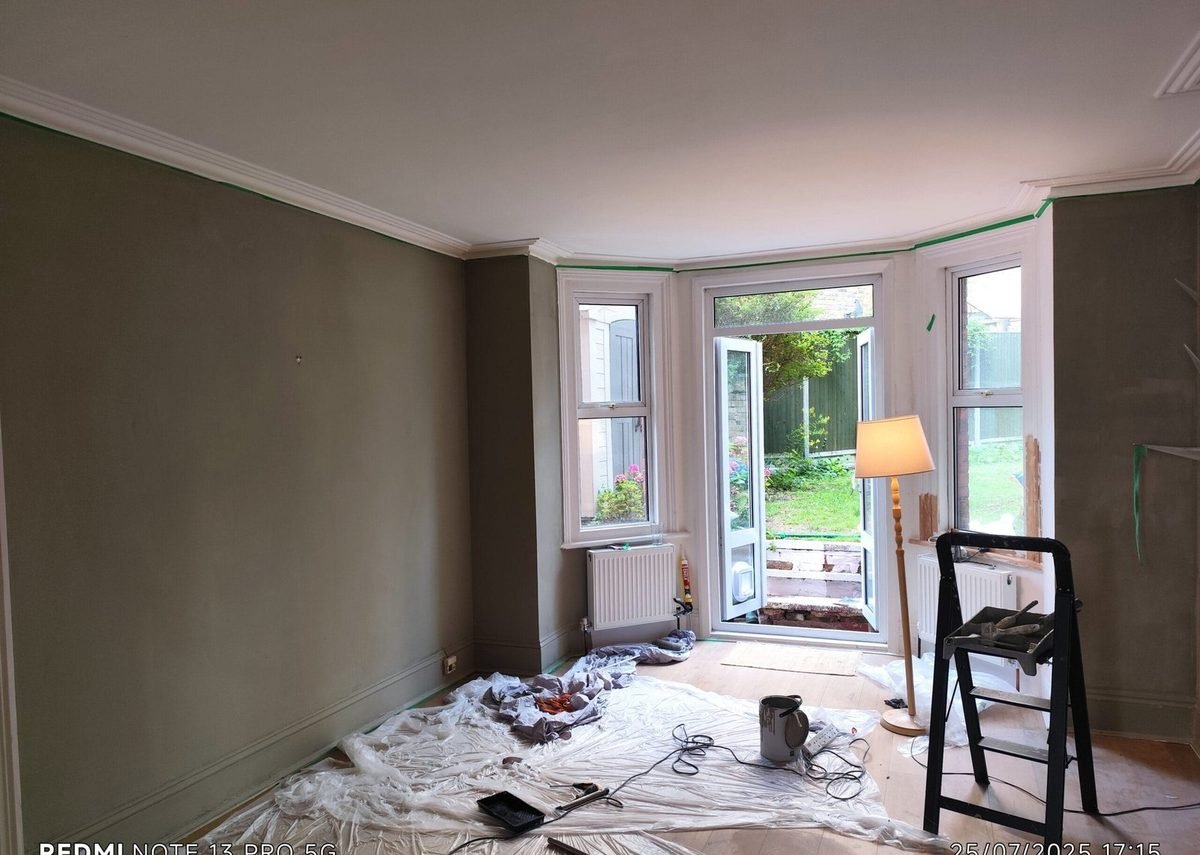
Older properties around Walworth, Kennington, Camberwell, Peckham, Brixton, Bermondsey and Elephant & Castle bring their own quirks. Victorian terraces often have high ceilings, deep window reveals and the original sash windows, which all take longer to cut in. Flats near SE17 frequently have a boxed-in or low-lit hallway where a dark colour was used to hide wear and tear, and those are the rooms that benefit most from a proper light, washable finish.
Need a Hand?
Going from dark to light is one of those jobs that rewards experience. If you would rather hand it over, we cover SE17 and the surrounding South London areas and can quote from photos. Get in touch for a free quote and we will tell you exactly how many coats your walls need.