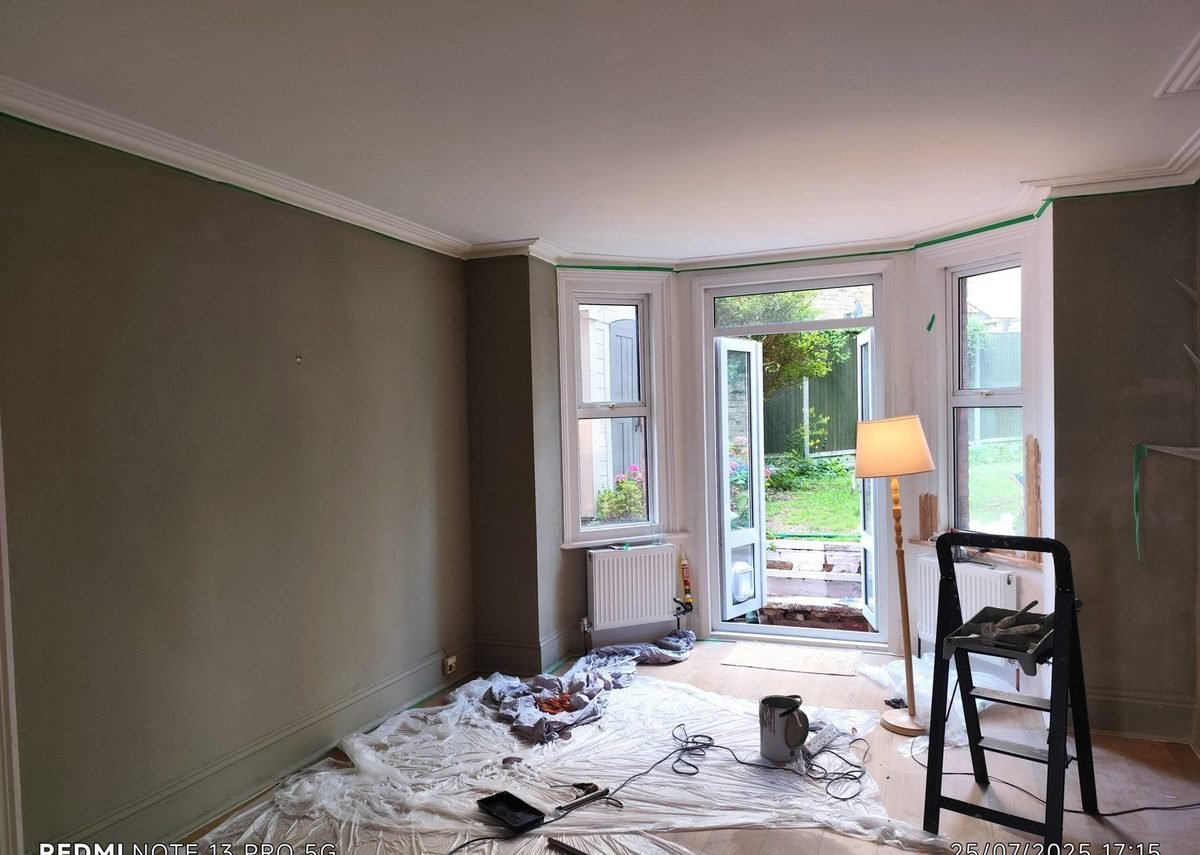
I’ve been painting flats across South London — Brixton, Peckham, Camberwell, Clapham — for over a decade, and I can tell you one thing with absolute certainty: most people leave it too late. They wait until the paint is literally falling off the wall before they call someone. By that point, what should have been a straightforward repaint has become a plastering job, a damp treatment, or worse.
The frustrating thing? The warning signs were there months earlier. You just need to know what to look for. Here are the five clearest signs your London flat is crying out for a repaint — spotted early, they save you serious money.
1. Peeling or Bubbling Paint
This is the one everyone notices but many ignore. You see a small bubble in the corner of the bathroom ceiling or a patch of peeling paint above the kitchen window and think, “I’ll deal with that later.” The problem is, it never stays small.
Peeling and bubbling paint almost always means moisture has got behind the paint film. In London flats, this is incredibly common — our Victorian and Edwardian housing stock wasn’t built with modern ventilation in mind. Kitchens without extractor fans, bathrooms with single-glazed windows, steamy bedrooms with the heating on full blast in winter — all of these create the perfect conditions for paint failure.
Once moisture breaches the paint layer, it starts attacking the plaster underneath. What begins as a cosmetic issue can turn into blown plaster — where the plaster separates from the brickwork behind it. Now you’re not just repainting; you’re replastering. That’s the difference between a £500 job and a £2,000 one.
What to do: If the bubbling is localised to one area, you might get away with scraping back, treating the cause (more on that below), and repainting just that wall. But if you see it in multiple rooms, it’s time for a full repaint with proper preparation — back to bare plaster, a stabilising primer like Zinsser Gardz, and then fresh paint. A moisture meter can tell you whether the damp is surface-level or structural before you commit to anything.
2. Faded, Yellowed, or Discoloured Walls
This one creeps up on you. Paint fades so gradually that you don’t notice it happening — until you move a picture frame or a piece of furniture and see the original colour underneath. Suddenly you realise your “white” walls are actually more of a tired cream. Your “feature wall” is more of a “faded memory” wall.
In London flats, fading is accelerated by a few factors. South-facing rooms get hammered by UV light, which breaks down the pigments in paint over time. If you’re in a top-floor flat or a Victorian conversion with large sash windows, your walls are taking a beating even when it doesn’t look sunny outside. Kitchens suffer from cooking grease and steam that embed themselves into the paint surface — you can scrub it, but you can’t fully clean it out. And if anyone in the flat smokes, the nicotine staining is almost impossible to remove without repainting.
Yellowing around radiators is another dead giveaway. The heat from the radiator literally cooks the paint over time, especially if it’s a solvent-based paint underneath. The yellowing bleeds through even if you paint over it with water-based emulsion. The only proper fix is to strip back, apply a stain-blocking primer, and repaint.
What to do: If the discolouration is mild and uniform, a fresh coat of good-quality emulsion — I use Dulux Trade Diamond Matt on almost every job — will bring your walls back to life. For heavy staining, you’ll need to prime first. A good dust sheet is non-negotiable if you’re doing this yourself — trust me, paint splatter travels further than you think.
3. Cracks Appearing Along Cornices, Ceiling Lines, and Wall Joints
London moves. Literally. The clay soil beneath much of South London expands and contracts with the seasons, and our Victorian terraces and mansion-block conversions shift with it. Some cracking is completely normal — hairline cracks along the cornice or where walls meet ceilings are part of living in an older property.
But when those hairline cracks start widening, or new ones appear in places they weren’t before, it’s more than cosmetic. Cracks wider than about 2mm can let moisture in, and in London’s damp climate, that moisture finds its way into the plaster and eventually the brickwork.
There’s also the aesthetic factor. If you’re thinking of selling or renting out your flat, cracked walls and ceilings send a terrible message to viewers. It screams “deferred maintenance” — and they’ll start looking for other things you haven’t fixed.
What to do: For hairline cracks, a quality filler like Toupret interior filler — this is what I use on every professional job — will sort you out. Rake out the crack slightly with a filling knife, fill, sand smooth with a fine sanding block, and repaint. If the cracks are wider than 5mm or reappear after filling, get a structural engineer to take a look before you do anything else.
4. Paint That Chalks or Powders When You Touch It
Run your hand over a wall. If your fingers come away with a fine white or coloured powder, that’s chalking. It’s the paint binder breaking down — the pigment is literally separating from the paint film and sitting loose on the surface.
Chalking is a sign that the paint has reached the end of its useful life. The binder — the “glue” that holds the pigment together — has been degraded by UV exposure, moisture, or simply age. Once chalking starts, you can’t stop it. You can clean the surface and paint over it, but if you don’t remove the chalk properly, the new paint won’t adhere. It’ll peel off within months.
I see this most often in flats that haven’t been decorated in 8-10 years, especially on ceilings and in rooms that get a lot of sun. It’s also common in properties where someone used cheap contract matt — the paint builders use on new builds to get the job done fast. It has very little binder content and chalks within a few years.
What to do: Wash the walls thoroughly with sugar soap — this removes the loose chalk and degreases the surface. Rinse with clean water, let it dry completely, then apply a quality primer before your topcoat. If you skip the sugar soap step, don’t bother painting at all — it won’t stick.
5. Mould or Damp Patches That Keep Coming Back
Let me be blunt: if you have recurring black mould spots in the corners of your bedroom or dark patches on the bathroom ceiling, painting over them with normal emulsion is a complete waste of time and money. The mould will grow straight through the new paint within weeks. I’ve seen it happen dozens of times — someone “refreshes” a room, and two months later the black spots are back, laughing at them through two coats of Dulux.
Mould needs three things: moisture, food (the paint or wallpaper paste), and the right temperature. London flats, especially older ones with solid walls, provide all three in abundance. Condensation from cooking, showering, and even breathing settles on cold external walls overnight, and that’s all mould needs to get started.
The fix has to be two-pronged. First, you have to deal with the cause — improve ventilation (a dehumidifier, trickle vents on windows, an extractor fan that actually works). Second, you treat the symptom — kill the mould properly and repaint with something that can resist it. Anti-mould paints contain fungicides that prevent regrowth, but they only work if you’ve killed the existing mould first.
What to do: Wash the affected area with a mould killer — proper fungicidal wash, not bleach (bleach just bleaches the colour, it doesn’t kill the spores). Let it dry. Then use an anti-mould paint like Zinsser Perma-White or Dulux EasyCare with mould protection. After that, improve the ventilation. If you repaint without solving the moisture problem, you’re just feeding the mould fresh paste.
For the painting itself, a quality roller sleeve makes all the difference between a finish that looks professional and one that looks like a landlord special. A decent brush set for cutting in will save you hours of trying to get a straight line with a £2 throwaway brush.
What Happens If You Ignore These Signs?
I’ll keep this simple. Here’s what the typical timeline looks like:
- Year 1: Small bubble appears in the bathroom. You ignore it. It gets slightly bigger.
- Year 2: Paint starts peeling around the bubble. Plaster underneath begins absorbing moisture.
- Year 3: Plaster is now soft and crumbly. Black mould appears in the corner above the window. The paint on the ceiling starts chalking.
- Year 4: Plaster has blown. You now need a plasterer (£300-£500 per wall in London) plus the painter. The mould has spread to the bedroom. The total cost has gone from £500 for a repaint to £2,500+ for remedial work.
I see this exact sequence play out at least once a month. The early signs are always there. The people who catch them early save themselves a fortune.
The London-Specific Factors
Painting a flat in London isn’t quite the same as painting anywhere else. Here’s why:
- Victorian and Edwardian stock: Solid brick walls with no cavity means cold walls in winter, condensation risks, and lime plaster that needs breathable paint. Modern vinyl matt on old lime plaster can trap moisture and cause exactly the problems described above.
- High humidity: London is humid year-round. Interior humidity levels in a typical London flat hover around 55-65% — mould starts thriving at 60%.
- Pollution: If you live on a main road — and in London, that’s a lot of us — traffic pollution embeds itself in your paint over time. It’s why white walls near open windows go grey-yellow within a couple of years.
- Tiny rooms: London flats are small. Darker colours can make a small room feel like a cell — but the right lighter tones with the right finish can transform the space. (See my paint finishes guide for which finish suits which room.)
DIY or Get a Professional?
If the problem is mild — a single wall with minor chalking or a small crack that hasn’t spread — and you’re reasonably handy, you can tackle this yourself with the right products. The key is preparation: 80% of a good paint job is what happens before the paint tin is even opened. Clean thoroughly, fill properly, sand smooth, prime where needed, and use quality paint. Skimp on any of those steps and you’ll be repainting again in two years.
But if you’re seeing multiple signs — bubbling paint AND mould AND cracks — or the affected area is more than one room, call someone who does this every day. A professional painter will spot the underlying issues that you might miss, and they’ll have the right tools and products to fix them properly the first time.
Need a Painter in South London?
I cover Brixton, Peckham, Camberwell, Clapham, Battersea, Streatham, Dulwich, Herne Hill, Stockwell, Kennington, Vauxhall, and the surrounding areas. Every job starts with a free, no-obligation visit where I’ll assess your walls properly and give you an honest recommendation — even if the honest answer is that you don’t need me yet.
Get a free quote here, or give me a call. No hard sell, no pressure — just straight advice from someone who’s painted more London flats than he can count.
Full disclosure: Some of the product links above are affiliate links. If you buy through them, I may earn a small commission at no extra cost to you. I only recommend products I actually use on my own jobs.