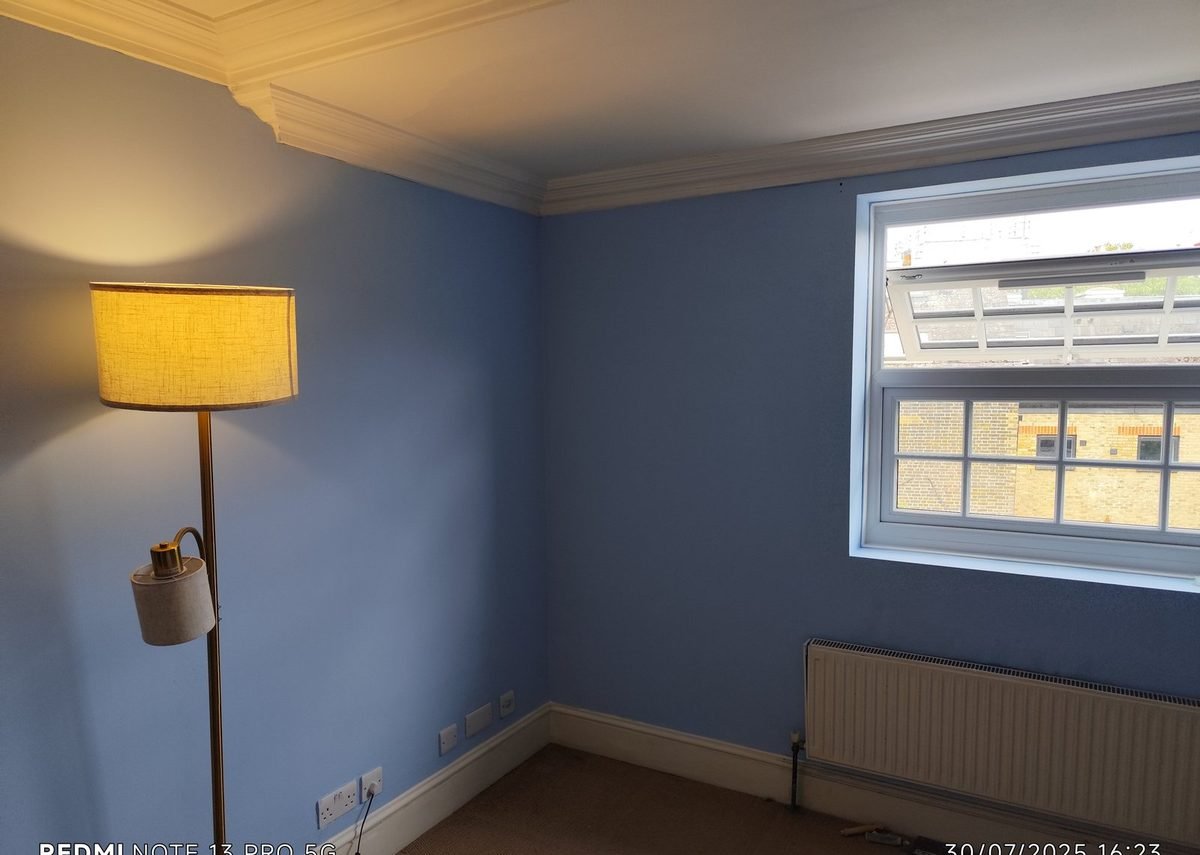
Most DIY paint jobs don’t look “wrong” because of the colour. They look wrong because the order of work was messy.
Paint the skirting before the walls and you’ll chase drips. Jump to the woodwork while the ceiling is still wet and you’ll mark fresh emulsion. Rush the sequence and you spend more time repairing than painting.
I’m a decorator working across SE17 and Greater London. This is the room painting order I use on jobs — the same checklist I give clients who want to DIY one room properly.
The short version (pin this)
- Prep the room (clean, fill, sand, caulk, protect)
- Ceiling
- Walls (cut in, then roll)
- Woodwork (window frames, doors, architraves, skirting)
- Radiators / metalwork (if you’re painting them)
- Final check (touch-ups, remove tape, clean edges)
That’s the backbone. Everything below is how to do it without making extra work for yourself.
1. Prep first — painting is the easy bit
If you skip prep, the best painting order in the world won’t save you.
Before any colour goes on:
- Clear or cover furniture and floors
- Wash walls (sugar soap in kitchens and hallways)
- Fill holes and cracks, then sand smooth
- Caulk gaps at skirting and frames
- Spot-prime repairs or stains
I’ve written a full prep walkthrough here: how to prepare walls for painting. Do that first, then come back to this order.
2. Ceiling first
Always start at the top. Gravity is not your friend.
Why ceiling first:
- Any drips or roller spray land on unfinished walls — easy to cover later
- You can cut into the walls cleanly once the ceiling is done
- You won’t be leaning ladders against finished walls
How I do it:
- Cut in around the ceiling edges with a brush (where ceiling meets walls and any coving)
- Roll the main field in even sections, keeping a wet edge
- Second coat once the first is dry enough (check the tin — don’t rush)
Pro tip: In London flats with low ceilings, use a short roller and good light. A patchy ceiling is the first thing people notice when they walk in.
3. Walls next
Once the ceiling is dry, paint the walls.
Order within the walls:
- Cut in around ceilings, corners, windows, doors and skirting with a brush
- Roll the open wall areas in a W or M pattern, then fill in
- Work one wall at a time so the paint doesn’t flash dry unevenly
Don’t paint woodwork yet. Leave a neat cut-in line above the skirting and around frames — you’ll tidy that when you paint the trim.
Two coats is normal for most London rooms. Dark-to-light changes often need a third, or a proper mist/primer coat first.
4. Woodwork last
Skirting, architraves, doors and window frames come after the walls.
Why last:
- Emulsion on walls is faster; wood finishes need more care
- You can cut a crisp line from woodwork onto dry wall paint
- Less chance of wall roller spray landing on fresh gloss/eggshell
A practical woodwork sequence inside the room:
- Window frames and sills
- Door frames / architraves
- Doors (or remove and paint flat if you can)
- Skirting boards last (closest to the floor — leave them till you’re done walking the room)
For skirting technique, see my guide: how to paint skirting boards and woodwork like a pro.
Finish tip: Eggshell or satin on woodwork is more wipeable than matt emulsion in busy halls and family rooms.
5. Radiators, pipes and “the awkward bits”
If radiators are staying in place:
- Paint the wall behind them first (or pull them forward carefully if safe and you’re confident)
- Use the right metal/radiator paint on the radiator itself
- Don’t paint over heat with ordinary emulsion — it can yellow and peel
Sockets and switches: paint around the plates carefully, or remove plates if you know what you’re doing electrically. Never force paint into gaps that create a fire risk.
6. What people get wrong (and how to avoid it)
- Painting woodwork first, then rolling walls carelessly — you end up cleaning emulsion off fresh trim
- Skipping dry times — second coats roll off or look patchy
- Starting with the “easy wall” — do the awkward walls while you’re fresh; leave the simple open walls for later
- Taping everything instead of learning to cut in — tape helps, but bad tape lines look worse than a steady brush
- Mixing the order between coats — if coat one was ceiling → walls → woodwork, keep that rhythm for coat two
Quick pro checklist (print or screenshot)
- ☐ Room protected, walls cleaned, filled, sanded, caulked
- ☐ Ceiling coat 1 → dry → ceiling coat 2
- ☐ Walls cut in → roll coat 1 → dry → coat 2
- ☐ Windows / frames
- ☐ Door frames and doors
- ☐ Skirting
- ☐ Radiators / metal (if needed)
- ☐ Touch-ups, remove tape, vacuum dust, rehang fittings
When to DIY vs call a decorator
One small bedroom with decent walls? A careful DIY weekend can look great if you follow this order.
Whole flat, high Victorian ceilings, dark-to-light colour change, or walls that need serious filling? That’s usually where hiring a decorator saves time and stress — and often money versus buying tools you’ll use once.
If you’re planning a room or whole-flat repaint in South London or Greater London and want it done in the right order first time, get a free quote — I’m happy to walk the job and tell you what’s worth DIY and what isn’t.