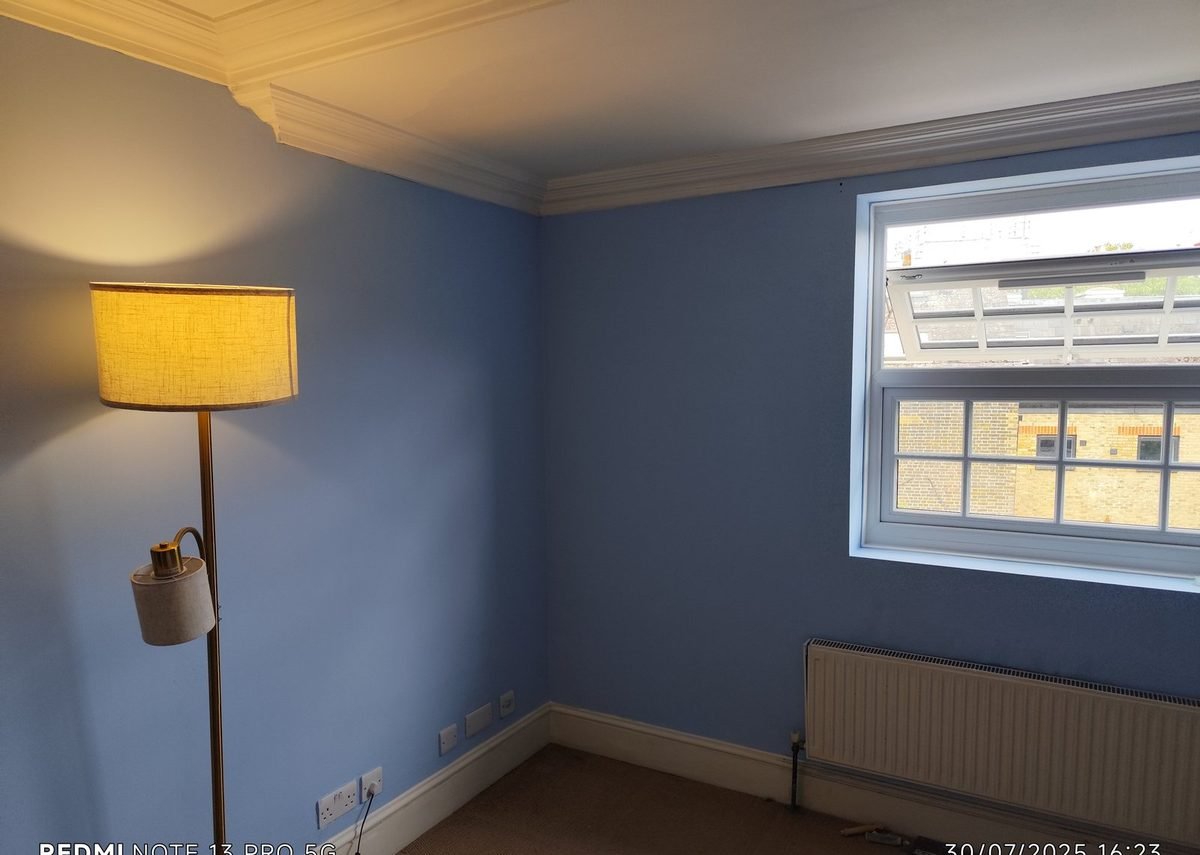
Preparing your walls properly is the single most important step in any painting project. Skip it, and even the most expensive paint won’t save you from peeling, patchy results. Whether you’re freshening up a bedroom in Kennington or repainting your hallway in Peckham, here’s how to prep walls like a professional painter.
Why Preparation Matters More Than the Paint
Paint adheres best to clean, dry, smooth surfaces. If your walls have grease marks, flaking old paint, or uneven patches, the new coat will highlight every flaw. In older South London properties — especially Victorian terraces common around SE17, Elephant and Castle, and Camberwell — walls may have layers of emulsion, wallpaper residue, or even plaster imperfections that need attention. Taking the time to prep properly means your paint job lasts years longer and looks infinitely better.
Clear the Room and Protect Everything
Before you touch a wall, move furniture to the centre of the room and cover it with dust sheets. Remove curtain poles, light switch covers, and socket plates. Use decorator’s tape to mask skirting boards, door frames, and window reveals. A few minutes of prep here saves hours of cleaning up splatters later. Professional painters in London always tape up before they start — it’s the hallmark of a tidy job.
Clean Every Wall Thoroughly
Kitchen and bathroom walls collect grease and moisture, but even living rooms gather dust and cobwebs. Mix warm water with a mild detergent (sugar soap is ideal) and wipe down every wall with a sponge or cloth. Pay extra attention to areas around light switches, radiators, and kitchen counters. Rinse with clean water and let the walls dry completely — usually 24 hours. Damp walls trap moisture under the paint, leading to bubbling down the line.
Fill Cracks and Holes
London homes have character, and character means cracks. Use a flexible filler for hairline cracks (common in older properties in areas like Bermondsey and Dulwich) and a standard interior filler for screw holes and dents. Apply with a filling knife, let it dry, and sand it flat. For larger gaps around skirting boards or architraves, use a decorator’s caulk — it won’t crack when the house settles.
Sand for a Smooth Base
Lightly sand every wall with medium-grit sandpaper (120–150 grit) wrapped around a sanding block. This knocks down any filler bumps and gives the paint a surface to grip. Focus on patches, edges, and corners. Wipe away the dust with a tack cloth or a slightly damp microfibre cloth. Your walls should feel smooth to the touch before you open a single paint tin.
Prime Bare or Repaired Areas
If you’ve filled large areas, painted over dark colours, or exposed bare plaster, use a primer or a mist coat. A good primer seals the surface and stops the new paint from soaking in unevenly. In newer South London flats in areas like Vauxhall and Nine Elms, a single coat of emulsion might be enough — but older walls nearly always benefit from a primer.
Not a DIY Weekend Job? Call a Professional
If this sounds like more work than you expected, you’re not wrong. Proper wall preparation takes time and a steady hand. Paolo, a professional interior painter and handyman serving SE17 and all South London, handles everything from prep to final coat — leaving you with a flawless finish and no wasted weekends. Get in touch for a free quote and colour consultation today.