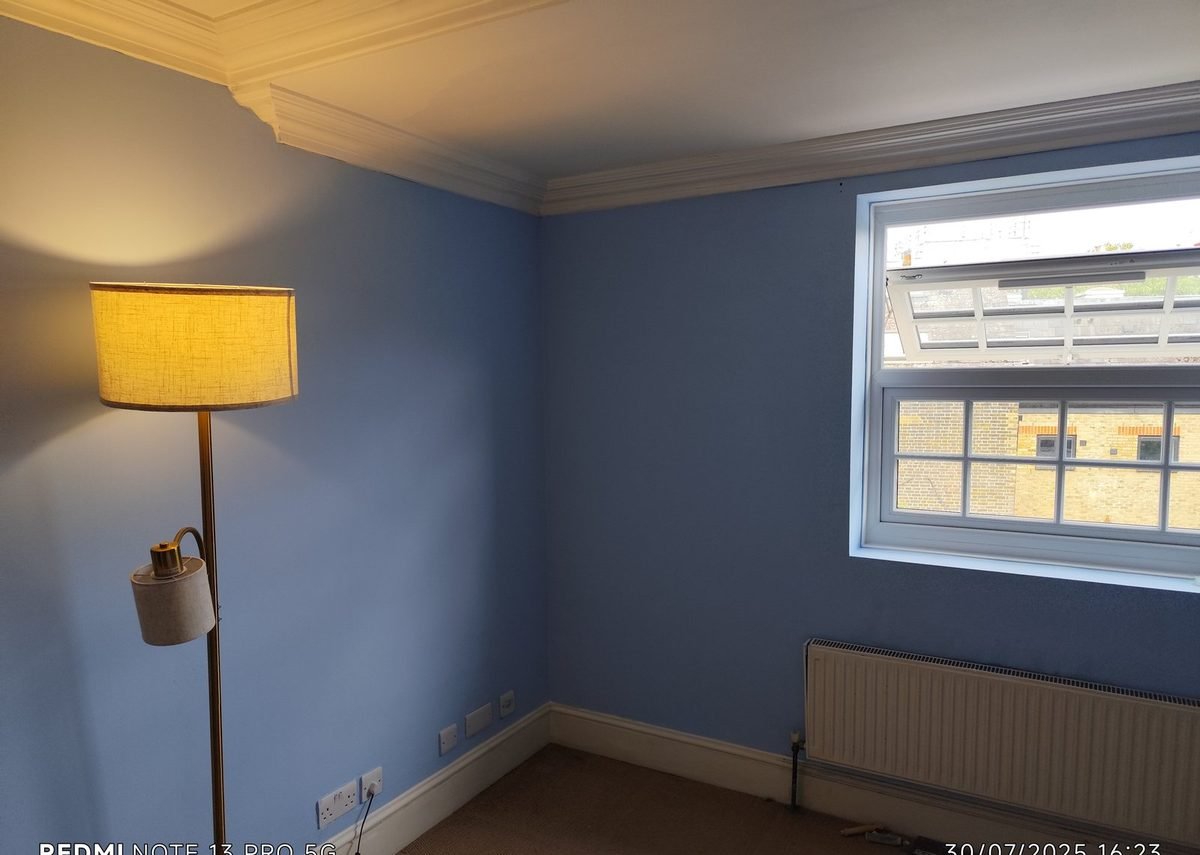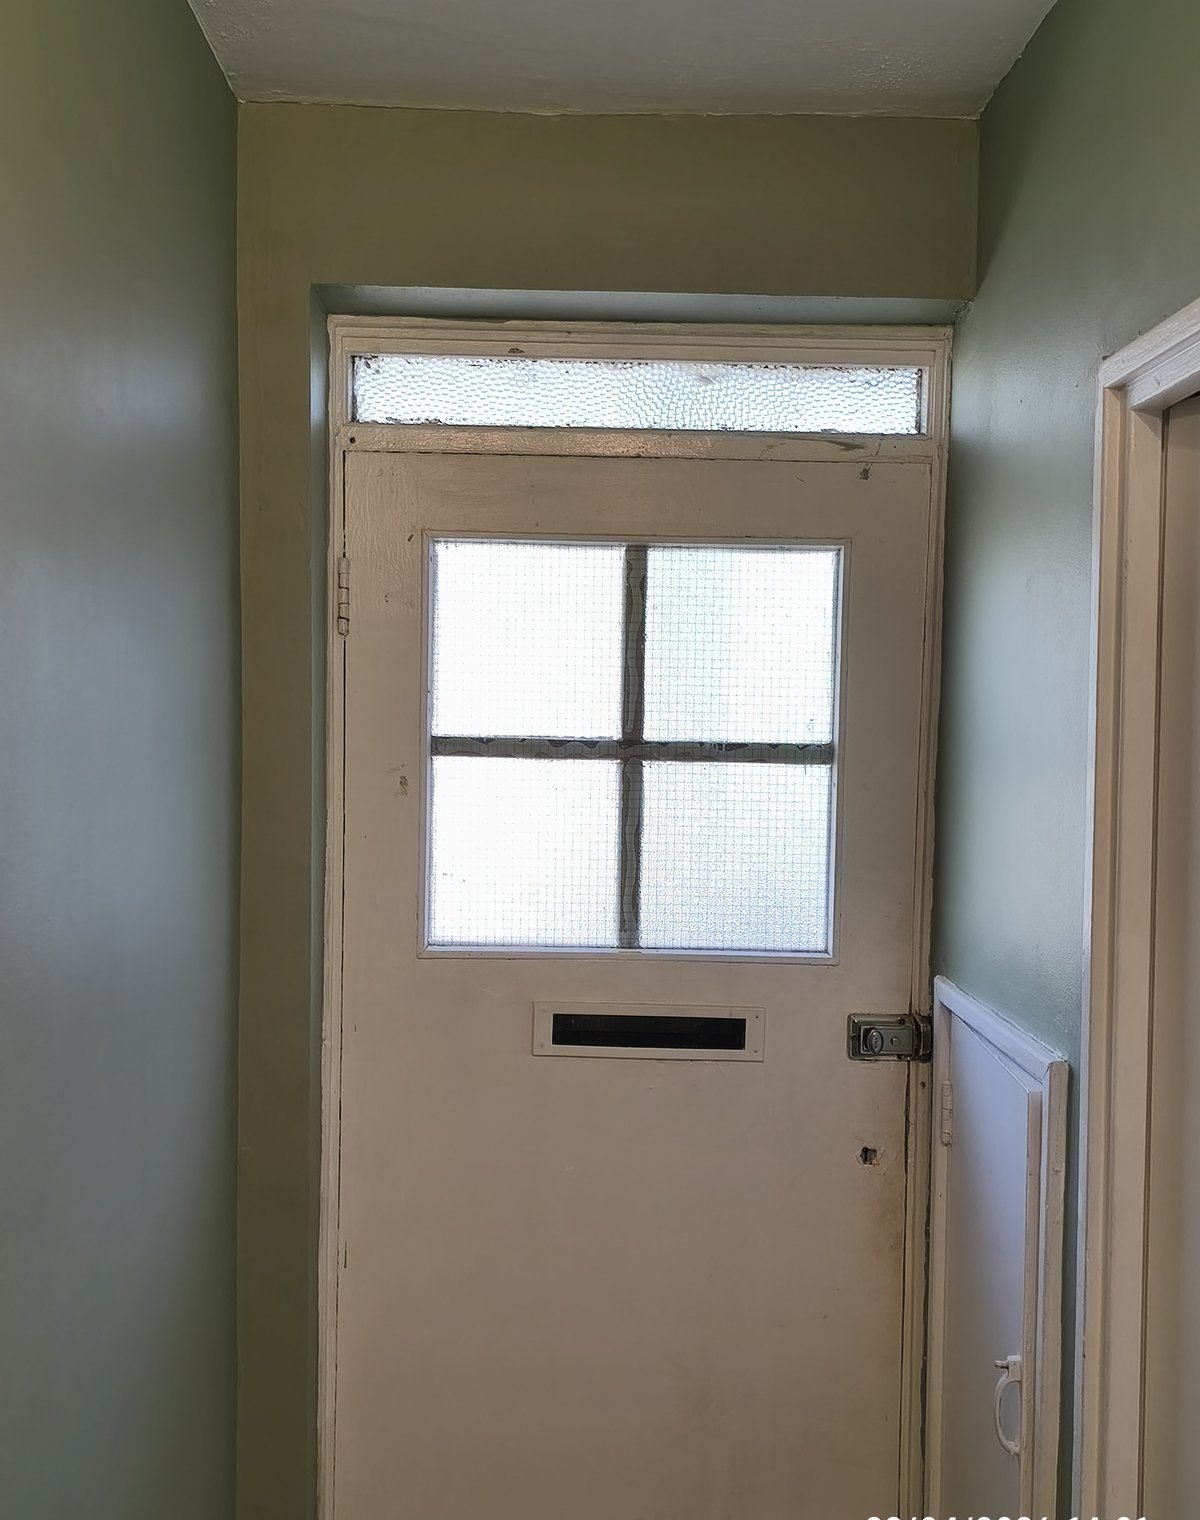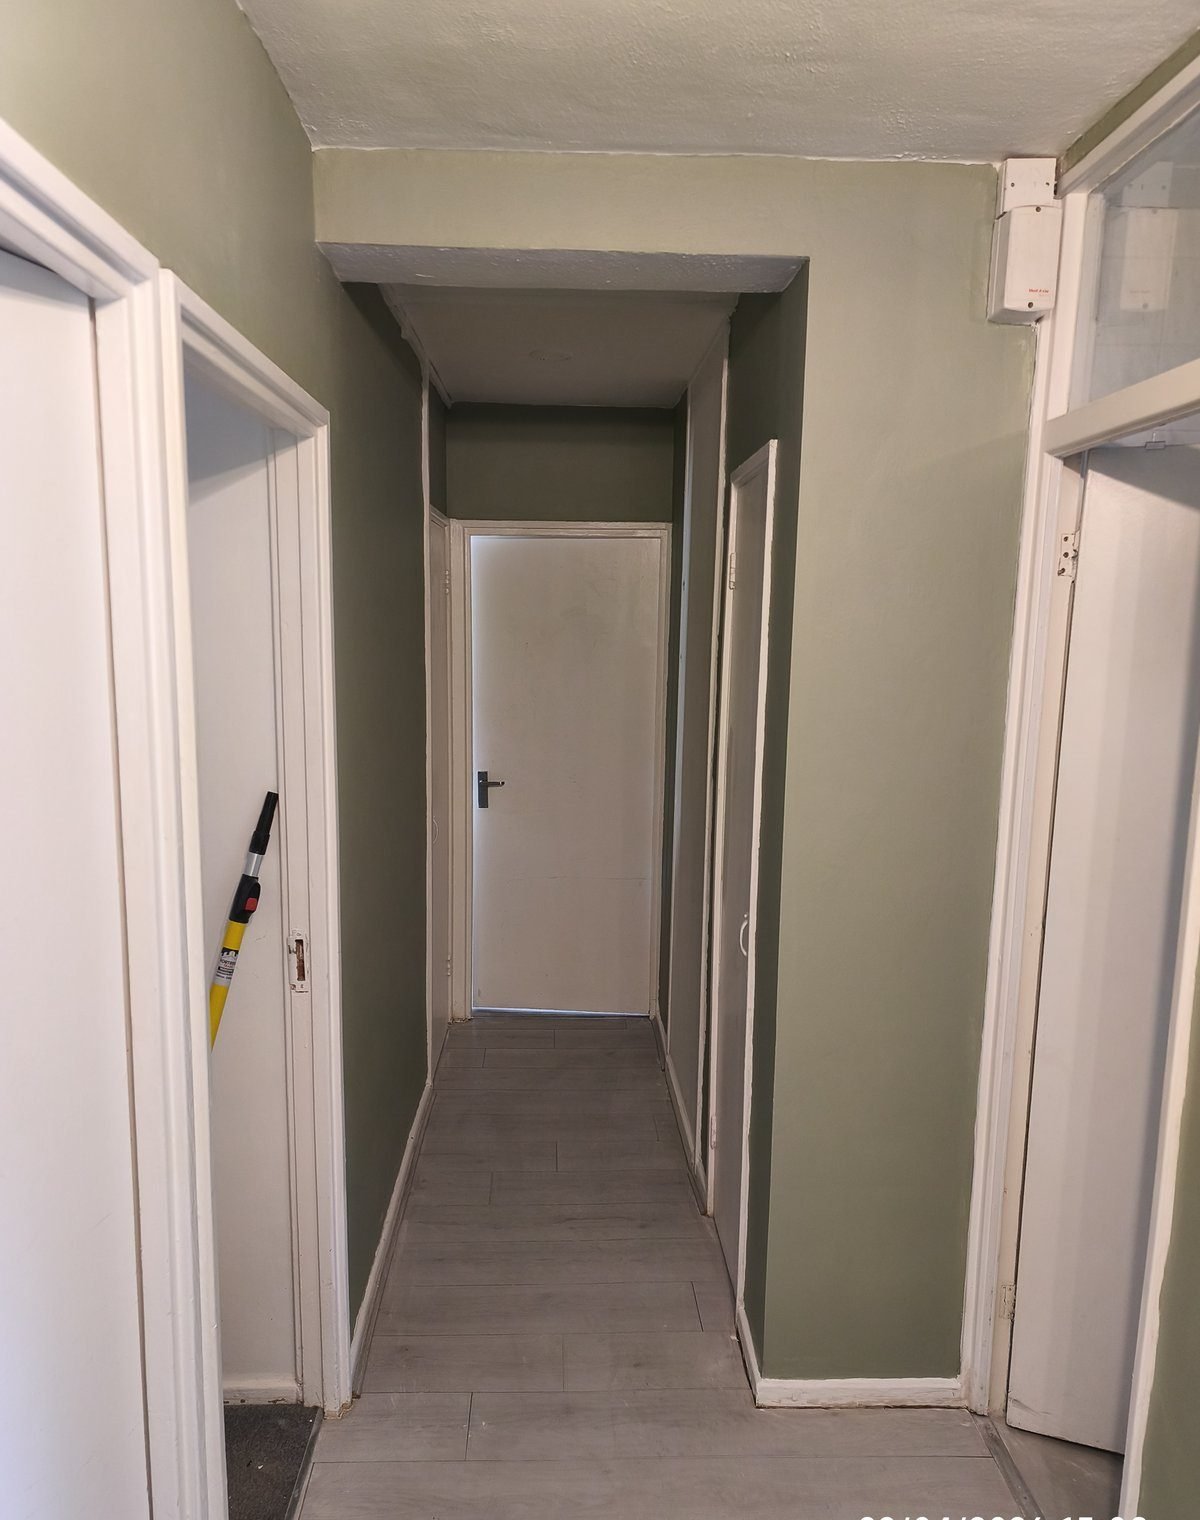
After painting hundreds of flats and houses across South London, I’ve learned that the difference between a paint job that looks professional and one that looks, well, DIY isn’t about talent. It’s about technique. The pros aren’t doing anything magical — they’re just doing a handful of things differently from everyone else.
Here are the ten things I do on every single job that make the finished result look crisp, clean, and expensive. None of them are complicated. Most of them cost nothing extra. They just require patience and the right approach.
1. Preparation Is 80% of the Job
If you take one thing from this entire article, make it this: the painting part is the quickest, easiest bit. The real work happens before the tin is even opened. I spend far longer prepping a room than I do painting it — and that’s exactly why my finished walls look the way they do.
Good preparation means: filling every crack, nail hole, and dent with a quality filler like Toupret interior filler (this is all I use — it sands beautifully and doesn’t flash through paint), sanding everything smooth with a fine-grit sanding block, washing the walls with sugar soap to remove grease and dust, and taping off skirting boards, window frames, and light switches with FrogTape. Forget the cheap masking tape — it bleeds, tears, and leaves residue. FrogTape is worth every penny.
If you skip prep, you’ll spend your painting time trying to fix problems that should have been solved already. And the finish will always show it.
2. Always Use a Dust Sheet — a Proper One
I have lost count of how many times I’ve seen people lay down newspaper or an old bedsheet and think they’re protected. Paint splatter travels — it bounces off the roller, flicks off the brush, and finds its way onto furniture three metres away. Newspaper tears. Bedsheets let paint soak straight through onto the carpet.
A proper canvas dust sheet is one of the cheapest investments you’ll make in your painting setup. Canvas doesn’t slip on hard floors, absorbs drips without letting them through, and can be reused for years. I’ve had the same set for five years and they’ve paid for themselves a hundred times over in saved carpets.
3. Cut In Before You Roll
“Cutting in” means painting the edges — where the wall meets the ceiling, skirting board, corners, and around windows and doors — before you pick up the roller. It’s the part most DIYers dread, and it’s the part that separates the pros from the amateurs.
The trick isn’t having a steady hand (though it helps). The trick is using the right brush and loading it properly. A quality angled brush like Purdy gives you far more control than a cheap straight-cut brush. Dip only the first third of the bristles in paint — any more and you’ll drip. Apply the paint about 5mm from the edge, then push the bristles gently toward the line. The paint will flow to the edge without crossing it.
Do all your cutting in first, then roll. If you try to do both at once — cut a bit, roll a bit — you’ll end up with visible “picture framing” where the cut-in edges have dried before the rolled section meets them.
4. Don’t Skimp on Paint Quality
I see it all the time: someone spends two weekends prepping a room perfectly, then buys the cheapest paint they can find. It’s like cooking a beautiful meal and serving it on a bin lid.
Cheap paint has less pigment, less binder, and more water. That means you need more coats, the coverage is patchy, and it starts looking tired within a couple of years. Quality paint — Dulux Trade Diamond Matt is my go-to for walls in almost every London flat — covers better, lasts longer, and actually works out cheaper per square metre once you factor in the reduced number of coats. Trade paint is a different product from retail paint. It’s thicker, covers better, and is designed for professionals who need it to work first time. Buy trade, not retail.
5. Load the Roller Properly
Most DIYers either overload the roller (drips everywhere, orange-peel texture) or underload it (dry rolling, patchy coverage — takes five coats to get opacity). The sweet spot is a fully loaded roller that isn’t dripping.
Dip the roller into the tray, roll it up and down the ribbed section three or four times to distribute the paint evenly across the sleeve. The roller should look uniformly wet but not heavy. If you lift it out and paint drips off immediately, you’ve overloaded it — roll it out a couple more times. A medium-pile Hamilton roller sleeve holds the right amount of paint for emulsion on plaster walls. Short pile for smooth surfaces, long pile for textured — get this wrong and you’ll fight the wall all day.
6. Work Wet-on-Wet (The “W” Technique)
Paint a “W” shape on the wall — about a metre wide and a metre tall — then fill it in with horizontal and vertical strokes without lifting the roller. This spreads the paint evenly across the section and prevents the tramlines you get from painting in straight lines. Once that section is covered, move to the adjacent area while the first section is still wet. Overlap slightly each time.
Why does this matter? Because if you let one section dry before you paint the one next to it, the overlap will be visible as a darker stripe. Paint needs to be “kept alive” — you want the whole wall to be wet at the same time so it dries as one uniform surface. On a normal London room wall, you’ve got about 10-15 minutes before the paint starts to set, so keep moving.
7. Two Coats. Always.
One-coat paints are a myth. Even the best trade paint needs two coats to achieve full opacity, uniform sheen, and proper durability. The first coat is your base — it seals the surface and gives you coverage. The second coat is what you actually see — it evens out the colour and builds the protective film.
Between coats, wait at least 2-4 hours (check the tin — different paints have different recoat times). If you rush the second coat before the first has properly dried, you’ll pull the first coat off the wall with the roller. I’ve seen it happen. Sand lightly between coats with fine sandpaper to knock off any nibs or dust that settled while the paint was drying.
8. Remove Tape at the Right Moment
This is the one that catches people out. If you let the paint dry completely before removing masking tape, you’ll peel chunks of paint off with the tape. If you remove it while the paint is still wet, drips can run down onto your freshly protected skirting.
The sweet spot is when the paint is “touch dry” — it’s dry enough that it won’t drip, but the film hasn’t fully cured and bonded to the tape. This is usually 30-60 minutes after applying the second coat, depending on temperature and humidity. Run a sharp blade along the tape edge before pulling if you want to be absolutely safe — this breaks the paint film cleanly at the join.
9. Ventilate but Don’t Create a Wind Tunnel
Paint needs airflow to dry, but too much airflow — especially cold air — causes problems. If you open every window in the room on a cold day, the paint will dry too fast on the surface while staying wet underneath. That leads to cracking, peeling, and a patchy finish.
The ideal setup: crack one window slightly, keep the door open, and let gentle airflow do the work. In winter, aim for the room to stay above 10°C — most water-based paints won’t cure properly below that. A small oil-filled radiator is better than blasting the central heating, which can create hot spots on the wall where paint dries unevenly.
10. Clean Your Tools Properly
This isn’t just about saving money — though a quality brush set will last years if you look after it. It’s about the next job. Old paint dried in the bristles will shed into your fresh paint. Bits of crusty paint in the roller sleeve will transfer straight onto your newly painted wall.
For water-based paints: rinse thoroughly under warm running water, working the bristles or roller fibres with your fingers until the water runs clear. Shake out excess water, reshape the brush head, and store brushes flat or hanging — never standing on their bristles in a pot. For oil-based paints: you’ll need white spirit or brush cleaner, but honestly, if you’re painting interior walls in 2026, you should be using water-based paint anyway. It’s better for the environment, doesn’t yellow, and the quality is now on par with oil.
Bonus: Keep a Damp Cloth Handy
No matter how careful you are, you’ll get paint somewhere it shouldn’t be — a skirting board, a light switch, the floor. A damp (not wet) cloth within arm’s reach means you can wipe it immediately before it dries. Once paint dries on a surface, removal becomes ten times harder. Two seconds with a damp cloth now saves twenty minutes of scraping later.
The London Factor
Painting in London has its own quirks. If you’re in a Victorian conversion — and in South London, you probably are — your walls are likely lime plaster with years of paint layers on top. Lime plaster needs to breathe, so use breathable paint (matt emulsion, not vinyl silk). If you’re in a newer build, the walls are probably plasterboard with a thin skim coat — much easier to paint, but more prone to cracking at the joints as the building settles.
And the dust. London dust is relentless — a mixture of traffic pollution, construction, and general urban grime. After painting, keep windows closed for at least 24 hours if you’re on a main road. Letting fresh paint act as a dust magnet before it’s fully cured will give you a gritty finish that you can’t fix without repainting.
Need It Done Properly?
I’ve just given you my playbook. If you follow these ten tips, you’ll get a result that most people will mistake for a professional job. But I also know that not everyone has two weekends to spend prepping, cutting in, and doing two careful coats. If you’d rather spend those weekends doing literally anything else, I cover Brixton, Peckham, Camberwell, Clapham, Battersea, Dulwich, Streatham, Herne Hill, Stockwell, Kennington, Vauxhall, and everywhere in between.
Get a free, no-obligation quote here — I’ll come round, look at your walls, and tell you honestly what needs doing and what it’ll cost. No hard sell. Just straight advice from someone who’s spent over ten years painting London one room at a time.
Some links above are affiliate links. If you buy through them, I may earn a small commission at no extra cost to you. I only recommend products I use daily on paying jobs.